GitOps : Deploy Your App Locally with Argo CD + Terraform + Docker + Helm
DevOps engineer & developer passionate about building scalable, reliable systems. I design and automate pipelines, manage cloud infrastructure, and ensure deployments run smoothly. Turning complex workflows into seamless operations is my craft.
🔧 Argo CD + 🛠️ Terraform + 🐳 Docker = GitOps Powerhouse
✨ A Short Story Before We Begin
A few weeks ago, I was deploying a small Flask app on Kubernetes for a personal project.
Next thing I know, I’m caught between kubectl apply, Helm values, manual port-forwards, and YAML that felt like spaghetti code. My local Kubernetes cluster was a mess — no versioning, no rollback, and definitely no peace of mind.
That’s when I discovered the real magic: GitOps with Argo CD, Terraform, Helm, and Docker. Each tool playing its part:
Terraform spun up the Kubernetes environment and Argo CD.
Docker packaged the app.
Helm managed the templates.
Argo CD watched Git like a hawk and deployed everything cleanly.
And now, I’m sharing that exact setup with you. Let’s go.
What You’ll Learn
In this guide, we’ll walk through deploying an app with Argo CD locally—leveraging Terraform for infrastructure, Docker for building and packaging, and Git as the single source of truth. Think of it as your DIY GitOps pipeline, but supercharged!
Step 1: Bootstrap Your Environment with Terraform
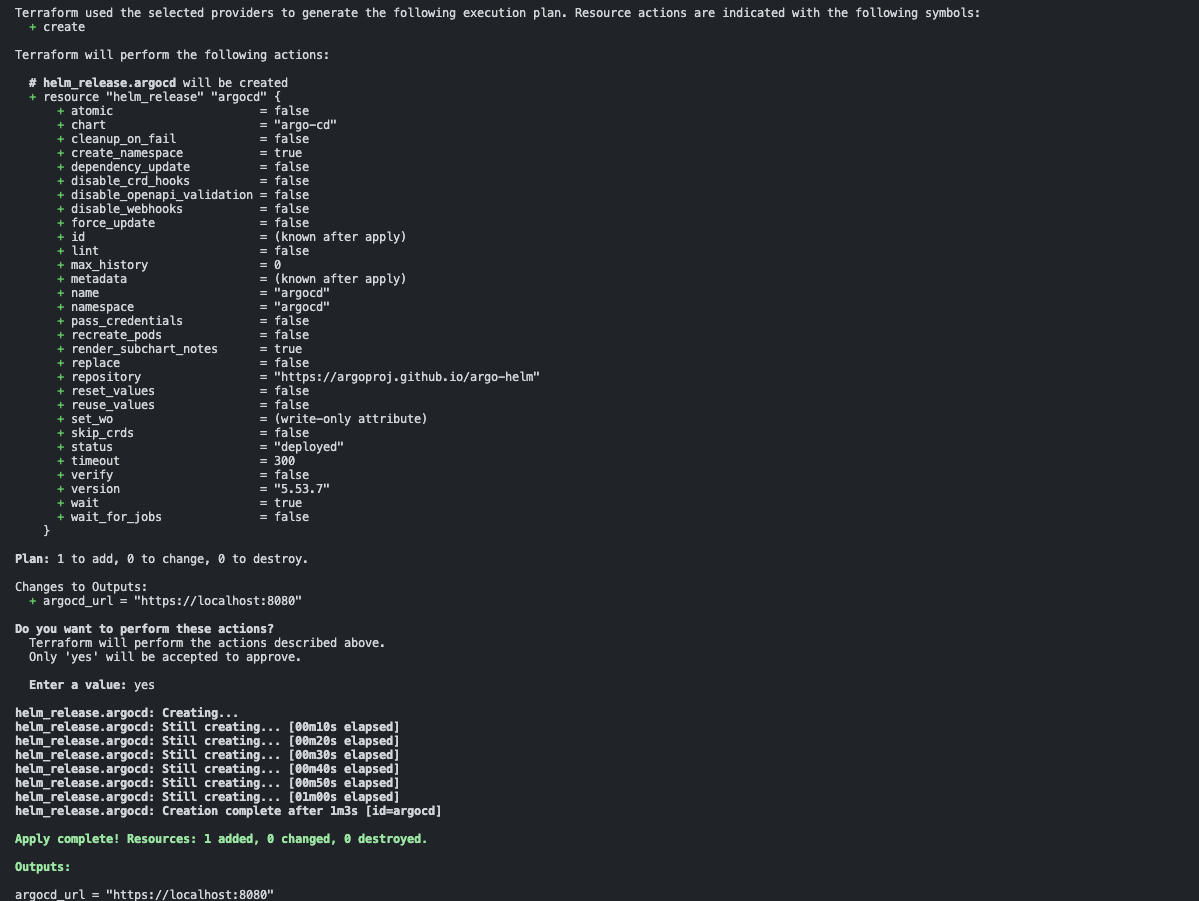
Let’s automate the creation of Argo CD and supporting Kubernetes infra using Terraform.
cd terraform
terraform init
terraform apply
This will set up Argo CD in your Kubernetes cluster under the argocd namespace.
Step 2: Access the Argo CD UI Locally
You’ll need to expose Argo CD’s server to your local machine.
bashCopyEditkubectl port-forward svc/argocd-server -n argocd 8080:443
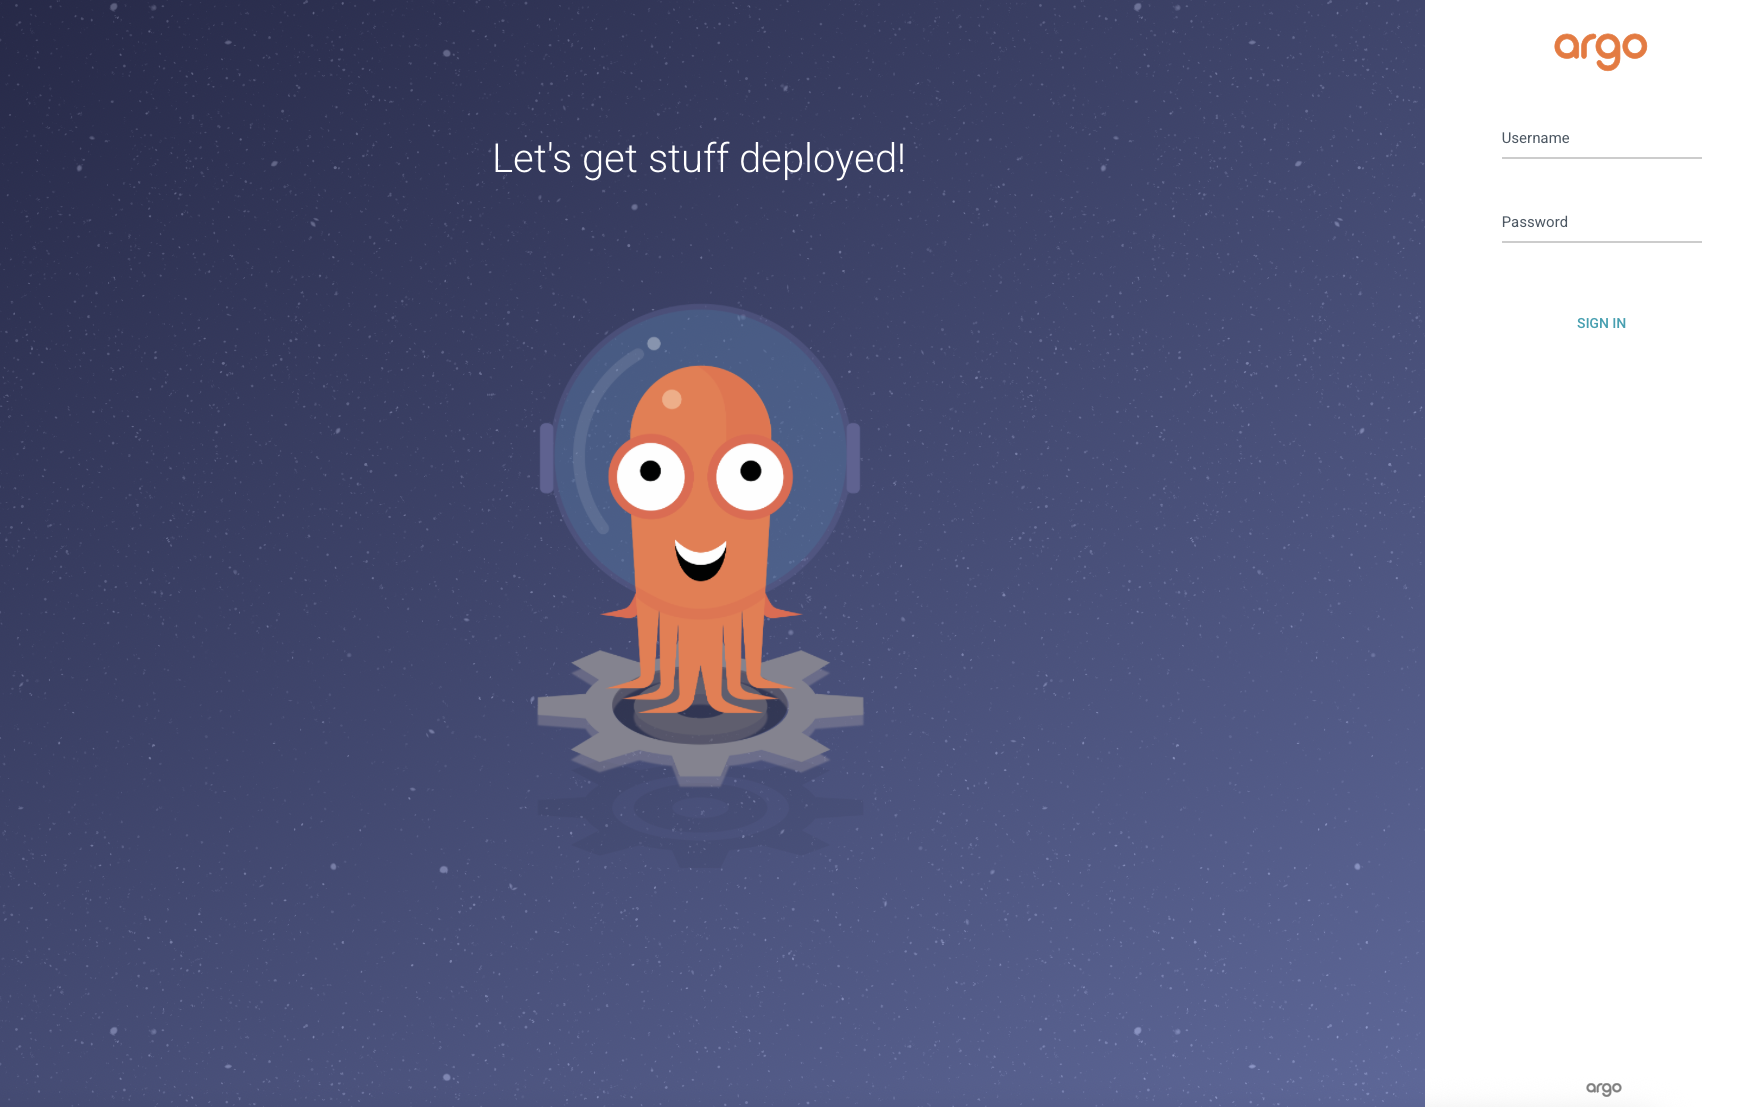
Then, head to https://localhost:8080 to access the UI.
🔐 Step 3: Grab Your Argo CD Admin Password
The default admin password is stored in a Kubernetes secret. Fetch it like this:
bashCopyEditkubectl get secret argocd-initial-admin-secret -n argocd \
  -o jsonpath="{.data.password}" | base64 --decode && echo
Now use admin as the username and the decoded password to log in.
Step 4: Build and Push Your Docker Image
You can either:
Option A – Push to Docker Hub:
docker build -t your-dockerhub-username/app-name:latest .
docker push your-dockerhub-username/app-name:latest
Option B – Load Locally (for tools like Minikube):
minikube image load your-dockerhub-username/app-name:latest
Step 5: Deploy via Argo CD using GitOps
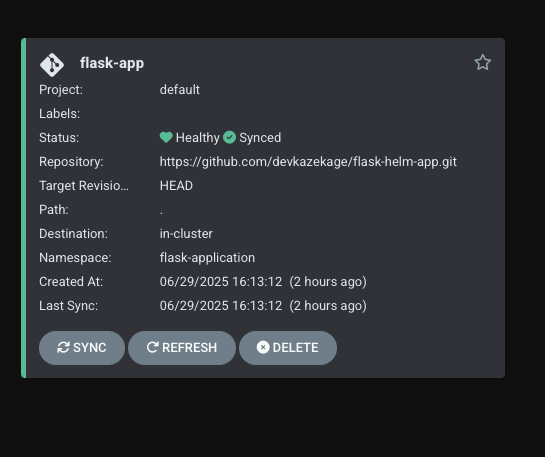
Now the magic begins. You define your deployment using a GitOps-style Application manifest:
yamlCopyEditapiVersion: argoproj.io/v1alpha1
kind: Application
metadata:
  name: flask-app
  namespace: argocd
spec:
  project: default
  source:
    repoURL: https://github.com/your-username/your-repo.git
    targetRevision: HEAD
    path: helm/flask-app
  destination:
    server: https://kubernetes.default.svc
    namespace: flask-application
  syncPolicy:
    automated:
      prune: true
      selfHeal: true
📌 Make sure your GitHub repo has the correct helm/flask-app chart with the proper Docker image reference!
💡 Pro Tips
Enable auto-sync in the UI or YAML to let Argo CD keep your cluster in sync with Git.
Namespace issues? Don’t forget to create the namespace if it’s not in the chart.
Keep Helm values neat and separated from templates for cleaner GitOps.
Bonus: Clean Up
If you ever want to remove the Argo CD app manually:
kubectl delete -f argo-application.yaml
But keep your YAML file safe in your repo!
🎉 You Did It!
You now have a fully operational local GitOps deployment with:
✅ Terraform bootstrapping
✅ Docker app packaging
✅ Argo CD app delivery
✅ Git as your single source of truth